- ✅ Step 1: Prepare Your Puzzle and the Fixing Kit
- 🔁 Step 2: Flip the Puzzle Over Safely
- 🧩 Step 3: Apply the Adhesive Film
- ✂️ Step 4: Trim the Edges
- 🖼 Step 5: Mounting Your Puzzle on the Wall
Jigsaw puzzles are more than just a fun pastime — they boost concentration, improve logic, and offer a deeply satisfying sense of accomplishment. But what happens when you finish your puzzle and want to turn it into a piece of art? That’s where a puzzle fixing kit comes in.
In this guide, you’ll learn how to preserve a puzzle without glue and how to hang your completed puzzle on the wall using our easy-to-use Puzzle Preservation Kit.
✅ Step 1: Prepare Your Puzzle and the Fixing Kit
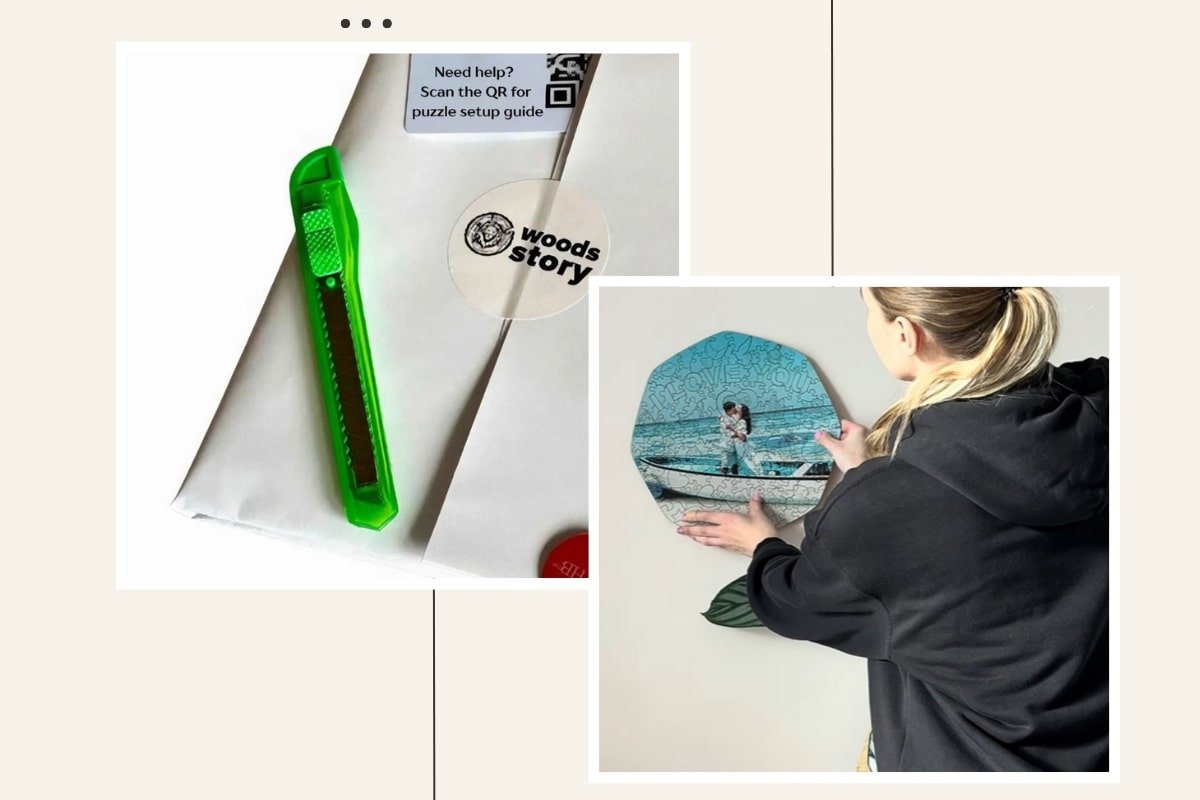
Before you begin, make sure your completed puzzle is fully assembled with all pieces snugly connected. You’ll also need your puzzle fixing kit, which includes an adhesive film, smoothing card, utility knife, and double-sided wall stickers.
🔁 Step 2: Flip the Puzzle Over Safely
To apply the adhesive film, you’ll need to flip the puzzle so that its back side is facing up. Here's how:
- Place your puzzle on a flat, solid surface (like cardboard or a large tray).
- Cover the top of the puzzle with another flat surface.
- Carefully flip the puzzle, ensuring all pieces stay in place.
Now the non-colored side of your puzzle should be facing up.
🧩 Step 3: Apply the Adhesive Film
Peel one edge of the adhesive film from your puzzle preservation kit and gently stick it to the back of the puzzle. Use the included smoothing card to gradually press the film down across the puzzle surface, removing any bubbles or wrinkles as you go.
This method avoids the mess of glue and ensures a smooth, clean finish — perfect for preserving your puzzle long-term.
✂️ Step 4: Trim the Edges
Once the film is fully applied, take the utility knife from the kit and carefully trim any excess film around the puzzle’s edges. This step ensures your finished piece looks clean and professional.
🖼 Step 5: Mounting Your Puzzle on the Wall
If you want to turn your puzzle into wall art, use the double-sided adhesive stickers provided in the kit:
- Peel off one side of the sticker and press it onto the back of your preserved puzzle.
- Then peel the other side and firmly press the puzzle against your wall.
Now your puzzle is ready to be displayed — no frames or drilling required!


Leave a comment
This site is protected by hCaptcha and the hCaptcha Privacy Policy and Terms of Service apply.